
If you are searching for how to update OpenClaw, you probably want one thing above all else: a clean update that does not wreck the automations you already depend on. That fear is normal. A lot of people delay updates because their setup finally works, and they do not want to touch it.
But skipping every update is not a safe plan either. OpenClaw updates can include bug fixes, stability improvements, compatibility changes, and security patches. The good news is that a careful process makes updates much less risky.
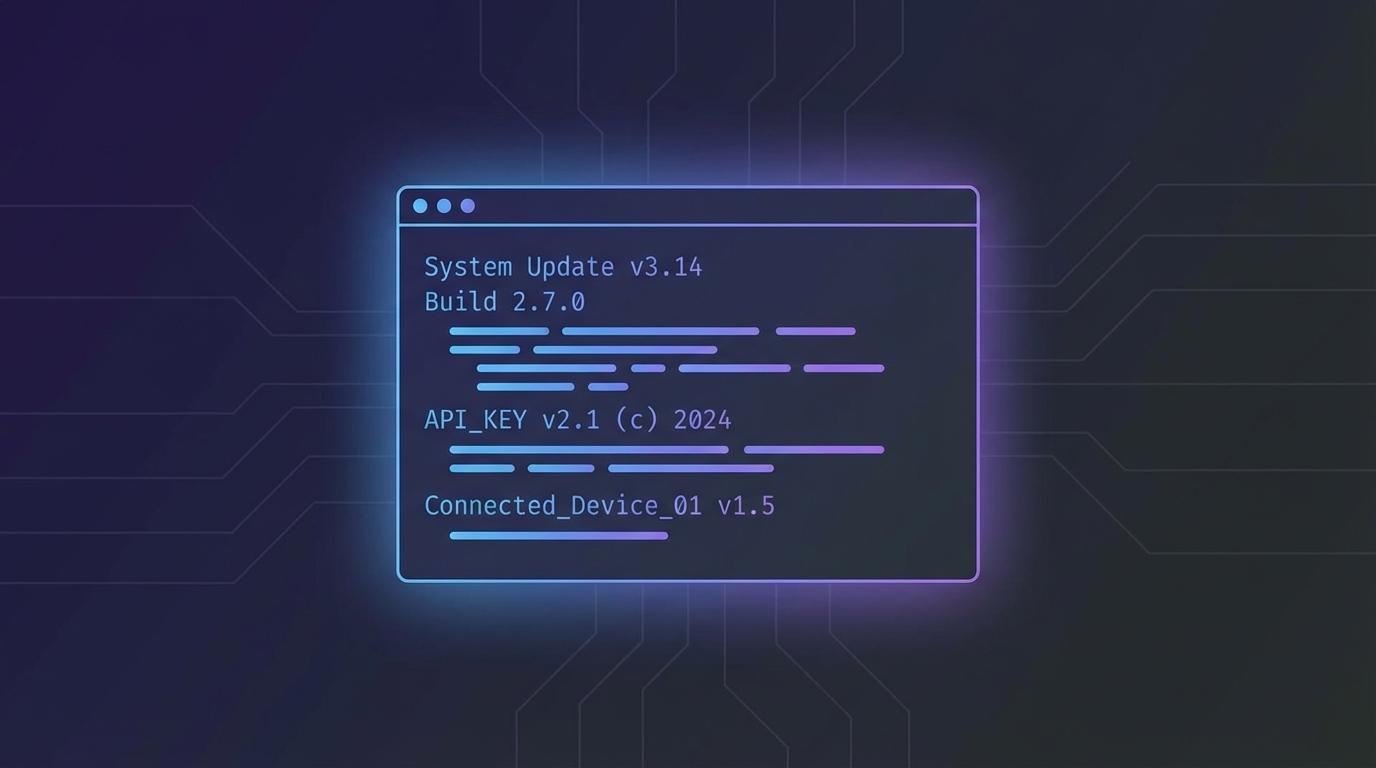
This guide walks through the full process in plain English. You will learn how to check your current version, back up the right files, run the correct update command, and test everything before you trust it again.
Why how to update OpenClaw matters more than people expect
When OpenClaw runs daily tasks, it quietly becomes part of your business routine. It may route messages, run automations, summarize content, or trigger workflows you barely think about anymore. So when an update appears, it can feel less like a software tweak and more like a gamble.
Still, updates matter for real reasons. Some fix broken commands. Some improve how OpenClaw works with external tools. And some close security gaps you do not want hanging around on a machine that touches accounts, files, or APIs.
The trick is not to update blindly. It is to update with a backup, a version check, and a short test plan. If you approach it systematically, you will spend fifteen minutes on maintenance instead of three hours on damage control.
Want a second set of eyes before you update?
If you are nervous about breaking a working setup, we can help you back up, update, and test it safely.
How to check your current OpenClaw version before you do anything
Before you update, confirm what you are running now. That gives you a reference point if something goes sideways. It also helps you tell whether you installed OpenClaw with npm or Homebrew, which changes the command you use next.
Start with the version check command in your terminal:
openclaw --versionIf that command works, save the result somewhere simple. A text note is fine. If it does not work, that is a clue in itself. Your PATH may be off, the install may be incomplete, or the command name may not be available in your current shell.
You can also check for the installed location to identify your install method. Run which openclaw on macOS or Linux. If the path includes /opt/homebrew or /usr/local/Cellar, you are on Homebrew. If it points to an npm global folder, you installed via npm. Knowing this now avoids confusion later.
If you are still in the early stage and need a clean baseline, this guide on how to install OpenClaw may help.
What to back up before how to update OpenClaw
This is the part people skip when they are in a hurry. And it is usually the part they regret.

Before you update, copy the files that make your setup yours. That usually includes MEMORY.md, config files, environment files, custom skills, local prompts, and any workflow scripts you edited after install. If you use a workspace folder with automations or custom integrations, back that up too.
A simple backup folder is enough for most people. You are not building a perfect disaster recovery system here. You just want a recent snapshot you can restore quickly.
Focus on these items first:
MEMORY.mdand similar workspace notes- Configuration files such as JSON, YAML, or CLI settings
.envfiles and any local secret references- Custom skills, scripts, prompts, or helper tools
- Any local documentation for your workflows
- Cron job definitions if you run scheduled automations
If your setup already feels brittle, make a full copy of the working project folder before updating. That may feel excessive. But sometimes the extra five minutes is what saves an afternoon. A quick cp -r or a zip file is all you need.
How to update OpenClaw with npm or Homebrew
Now for the actual update. Use the command that matches your install method. Do not mix them unless you are deliberately cleaning up an old install.
If you installed OpenClaw globally with npm, use:
npm update -g openclawIf you installed it with Homebrew, use:
brew upgrade openclawAfter the update finishes, check the version again:
openclaw --versionCompare this output to what you recorded earlier. If the number changed, the update worked. If it stayed the same, something may have gone wrong with the package resolution or you may have multiple installs conflicting.
And if you run OpenClaw as a service or gateway process, restart that process so it loads the new version. Depending on your setup, that may mean:
openclaw gateway restartIf you are not sure whether you should restart the gateway, the safe answer is usually yes when OpenClaw runs in the background. A restart clears out stale state and makes sure the update is actually in use. This step takes seconds and avoids the confusion of debugging old code that you thought was replaced.
Not sure which install method you used?
That confusion is common. We can help identify your setup, update the right package, and avoid duplicate installs.
Common problems after an OpenClaw update and how to fix them
Most updates go fine. The annoying cases tend to fall into a few predictable buckets.
Problem 1: The version did not change.
That often means the update hit a different install than the one your shell is using. Check whether you have both npm and Homebrew versions on the same machine. Then confirm which executable your terminal sees first with which openclaw.
Problem 2: A command worked before but fails now.
Start by restarting the gateway or background service. Then recheck your environment variables, local config, and any custom scripts that assume an older path or behavior. Sometimes a breaking change in command syntax triggers this. Check the changelog if one is published.
Problem 3: Skills or automations stop working.
This is where your backup matters. Compare your current custom skill files, prompts, and config folders with the backup copy. Some breakages come from changed file locations, renamed options, or old assumptions in custom code. If you copied everything beforehand, you can diff and find the difference.
Problem 4: Permissions or PATH issues appear.
This can happen after npm global package updates, especially on machines with older Node setups. If OpenClaw installs but the command is missing, verify your shell PATH and the global npm bin location. Running npm config get prefix shows where npm puts global binaries.
Problem 5: The setup feels half-broken and you are not sure why.
That is the hard one. Sometimes the best move is to pause, compare versions, and test one workflow at a time instead of changing five things at once. And if you have ongoing setup problems, a clean review may beat random troubleshooting.
When to update right away and when it is smart to wait
Not every update has the same urgency. If an update fixes security issues, major bugs, or compatibility problems with tools you rely on, update sooner rather than later. That is especially true if your OpenClaw instance touches real customer work or account access.
But if your setup is stable, heavily customized, and tied to important daily automations, waiting a couple of days can be reasonable. Read release notes if they exist. Look for reports from other users. There is no prize for being first.
I am not completely rigid on this point. A small update can still cause weird edge cases, and sometimes a major update is surprisingly smooth. So the better rule is this: update fast when risk is high, update carefully when disruption would hurt more than the new features help.
The middle ground that works for many users is updating every few weeks unless something urgent comes up. You stay reasonably current without living on the bleeding edge.
How to test your setup after you update
This step is where confidence comes back. Do not assume the update succeeded just because the version number changed.
Run two or three real tasks you actually depend on. If OpenClaw triggers a workflow, test that workflow. If you use custom skills, run one. If you rely on message routing or summaries, test those exact actions.
Keep the checklist short. You want proof, not ceremony.
- Confirm
openclaw --versionshows the new version - Restart gateway or background services if needed
- Run your most important automation
- Check one custom skill or prompt workflow
- Review logs or terminal output for obvious errors
If all of that works, you are in good shape. And once your setup is stable again, it may be a good time to review your best automations and decide what to improve next.
A calm update process beats a rushed one every time
If you came here because you were worried about how to update OpenClaw, the short answer is simple: check your version, back up your important files, run the correct update command, restart what needs restarting, and test the workflows that matter most. That is the safest path.
You do not need to be deeply technical to do this well. You just need a little structure. And if something already broke, that does not always mean your setup is ruined. It often means one small piece needs attention.
Updates do not have to be scary. With the right prep, they become routine maintenance instead of a gamble. And your automations keep running while you move on to the next thing.
Need help updating without breaking your workflow?
We help OpenClaw users clean up installs, fix broken updates, and keep their automations working.