I woke up last Tuesday to three new blog posts live on my sites. I didn’t write them. I didn’t edit them. I didn’t even hit publish. My OpenClaw agent, Jarvis, handled the entire thing while I slept – keyword research, drafting, editing, quality review, and publishing to WordPress. All automated. All on schedule.
If that sounds too good to be true, I get it. Six months ago I would’ve said the same thing. But after running OpenClaw on a Mac Mini 24/7 since early 2025, I’ve built a content pipeline that genuinely runs itself. Not perfectly – I still review articles and tweak things – but the 90% of grunt work that used to eat my mornings? Gone.
This article walks through exactly how I built it, what tools and skills I used, and how you can set up something similar for your own blog or business.
Don’t Want to Do This Yourself?
Skip the setup headaches. Get a fully configured OpenClaw assistant in one session.
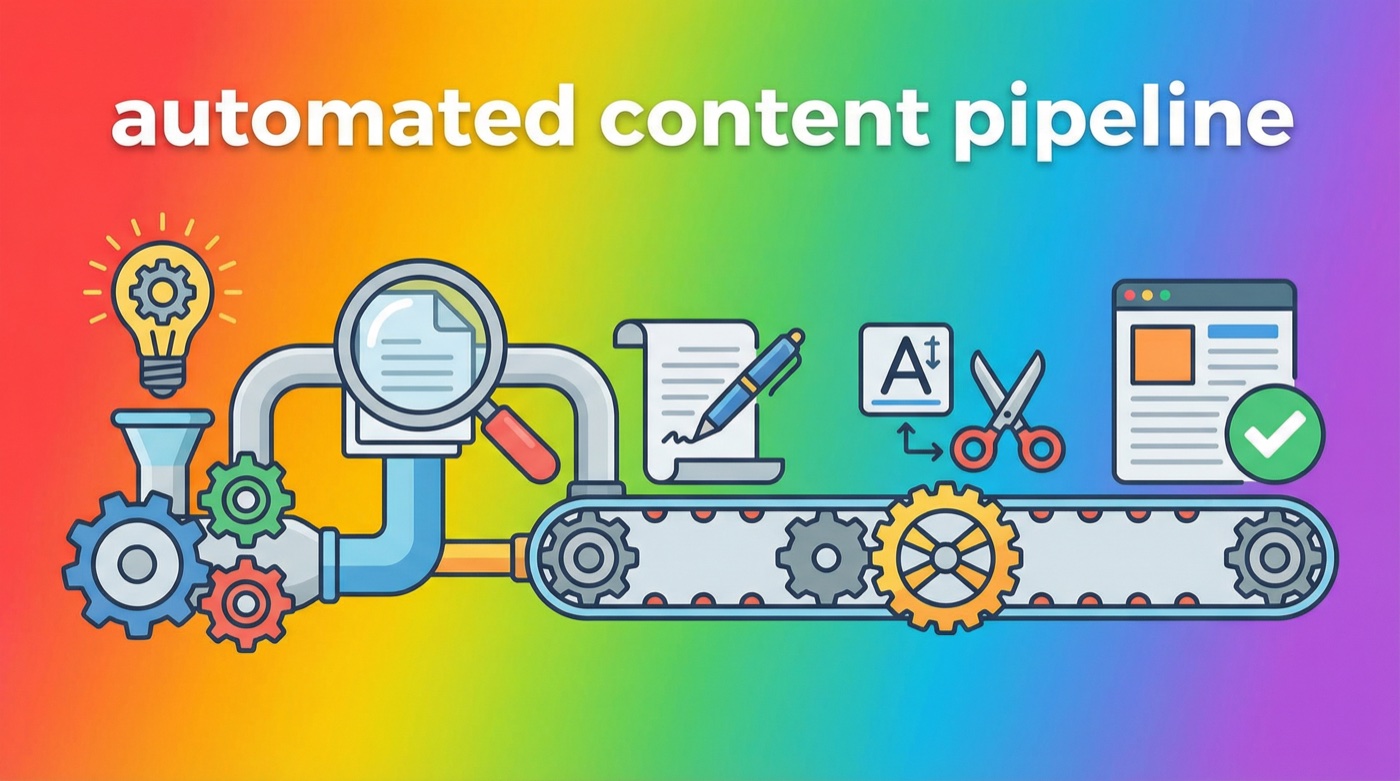
What a content pipeline actually looks like
When people talk about “automating content,” they usually mean one of two things: either they’re using ChatGPT to spit out a rough draft (which still needs tons of work), or they’re daydreaming about some sci-fi system that does everything perfectly. My pipeline sits somewhere in between – practical, functional, and honest about its limits.
Here’s the actual flow, step by step:
- Keyword research – The agent searches for low-competition, long-tail keywords in my niche
- Topic validation – A “council” of AI reviewers evaluates whether the keyword is worth pursuing
- Deep research – The agent gathers real data, examples, and technical details from the web
- Article drafting – Writing 1,500-2,500 words in my voice with proper structure
- Editing pass – Removing AI writing patterns so the content reads like a human wrote it
- Quality review – Another round of council review to grade the final article
- Image generation – Creating custom graphics that match the article topic
- WordPress publishing – Uploading everything, setting SEO metadata, and hitting publish
- Verification – Confirming the post is live and rendering correctly
Each of these steps maps to a specific OpenClaw skill or capability. The magic isn’t any single piece – it’s wiring them together with cron jobs so the whole chain runs on autopilot.
Skip the Setup Headaches
Our team handles your entire OpenClaw setup – hardware, integrations, automations – so you can focus on running your business. Most clients are fully operational in 48 hours.
The skills that make it work
OpenClaw’s skill system is what makes this possible. Skills are basically instruction sets that teach your agent how to use specific tools. For a content pipeline, you need four or five working together.
Pinch-to-Post (WordPress publishing)
This is the backbone of the whole operation. Pinch-to-Post is an OpenClaw skill that handles WordPress REST API interactions – creating posts, uploading media, setting featured images, managing categories, and configuring SEO metadata. Without it, you’d be writing raw curl commands for every publish action.
The setup is straightforward. You generate an application password in WordPress (under Users > Your Profile > Application Passwords), store it securely, and the skill handles the rest. My agent can publish a fully formatted article with images, categories, and meta descriptions in about 30 seconds.
Research skill (web research without burning tokens)
One thing I learned the hard way: don’t let your main AI model do web research. It’s expensive and slow. Instead, I route all research tasks through a dedicated sub-agent that uses Gemini CLI. It searches the web, pulls relevant content, and compiles findings – all without touching my primary Claude API budget.
For content specifically, the research skill gathers competitor articles, checks what’s already ranking for the target keyword, and pulls technical details that need to be accurate. This step is what separates generic AI content from articles that actually contain real information.
Humanizer (removing AI writing patterns)
Here’s an uncomfortable truth: AI-generated text has tells. Lots of them. Words like “landscape,” “tapestry,” and “delve” show up way more in AI writing than human writing. Same with em dashes, the rule of three, and those weird “-ing” phrases that add fake depth (“highlighting the importance of…” – you know the ones).
The humanizer skill scans every article for these patterns and rewrites them. It’s based on Wikipedia’s “Signs of AI writing” guide, which documents dozens of patterns that editors have identified across thousands of AI-generated articles. After a humanizer pass, the content reads like someone actually sat down and wrote it. (This is one of the most useful OpenClaw skills you can install.)

Council of the Wise (quality control)
This is my favorite part of the pipeline. The “Council” is a multi-perspective review system where different AI personas evaluate the article from different angles – a devil’s advocate looking for weaknesses, an architect checking structure, an engineer verifying technical accuracy, and an artist evaluating readability and voice.
The council runs twice in my pipeline. First, it approves the keyword and topic before any writing happens. Second, it reviews the finished article and assigns a letter grade. If the article gets below an A, it goes back for revisions. If it still can’t hit the mark after two revision cycles, it gets saved as a draft for me to review manually instead of being published.
This might sound like overkill, but it catches real problems. I’ve seen the council flag factual errors, weak introductions, missing context, and SEO issues that would’ve gone live without it.
Skip the Learning Curve
I’ll configure everything – personality, skills, automations, channels – in one live session.
Wiring it together with cron jobs
Skills are the building blocks. Cron jobs are the glue. OpenClaw’s built-in scheduler lets you set up recurring tasks that fire on whatever schedule you want – daily, weekly, specific days, or even one-shot timers.
For my content pipeline, I have a cron job that runs three times a week (Tuesday, Thursday, and Sunday at 3 AM). It uses an isolated session, which means it gets its own dedicated context window separate from my main chat – similar to how you’d connect OpenClaw to Telegram for notifications but keep the work separate. That’s important because you don’t want a content generation task stepping on whatever conversation you had with your agent earlier that day.
Here’s what the basic structure looks like:
openclaw cron add \
  --name "blog-auto-post" \
  --cron "0 3 * * 0,2,4" \
  --tz "America/Phoenix" \
  --session isolated \
  --message "Write and publish one article following the content pipeline..." \
  --announce
The --session isolated flag is the key detail. It tells OpenClaw to spin up a fresh session for this task instead of injecting it into your main conversation. The --announce flag means the agent will send you a notification when it’s done – so I wake up to a Telegram message telling me what got published.
Three schedule types are available: at for one-shot tasks (“remind me in 2 hours”), every for fixed intervals (“every 30 minutes”), and cron for standard cron expressions. For content publishing, the cron expression format works best because you can target specific days of the week.
Skip the Setup Headaches
Our team handles your entire OpenClaw setup – hardware, integrations, automations – so you can focus on running your business. Most clients are fully operational in 48 hours.
The task prompt matters more than you think
The message you give the cron job is essentially the agent’s entire instruction set for that run. It needs to be detailed enough to cover the full pipeline but structured enough that the agent can follow it step by step. Mine is about 200 lines long and includes:
- Which content type to produce based on the day of the week
- Where to find the keyword queue
- How to check for duplicate topics against existing posts
- The exact CTA HTML to insert (with variations for different placements)
- Image generation specs and upload instructions
- SEO requirements (meta descriptions, categories, internal links)
- Failure handling – what to do if any step breaks
I spent about a week getting this prompt right. The first few runs produced mediocre results because my instructions were too vague. “Write a good article” isn’t enough – you need to specify voice, structure, length, formatting requirements, and quality gates.
Content types by schedule
Not every article should be the same type. I rotate content categories across the week to keep things varied:
- Tuesdays: Tutorials and how-to guides. Step-by-step walkthroughs that solve a specific problem.
- Thursdays: Reviews and opinion pieces. Honest takes on tools, features, and approaches.
- Sundays: Use cases and strategy articles. Big-picture thinking about how to use OpenClaw for specific goals (like this article).
This rotation matters for SEO. Search engines like sites that cover topics from multiple angles. Having tutorials, reviews, and strategy content targeting related keywords builds what SEO people call “topical authority” – Google starts seeing your site as a legitimate resource for the subject.
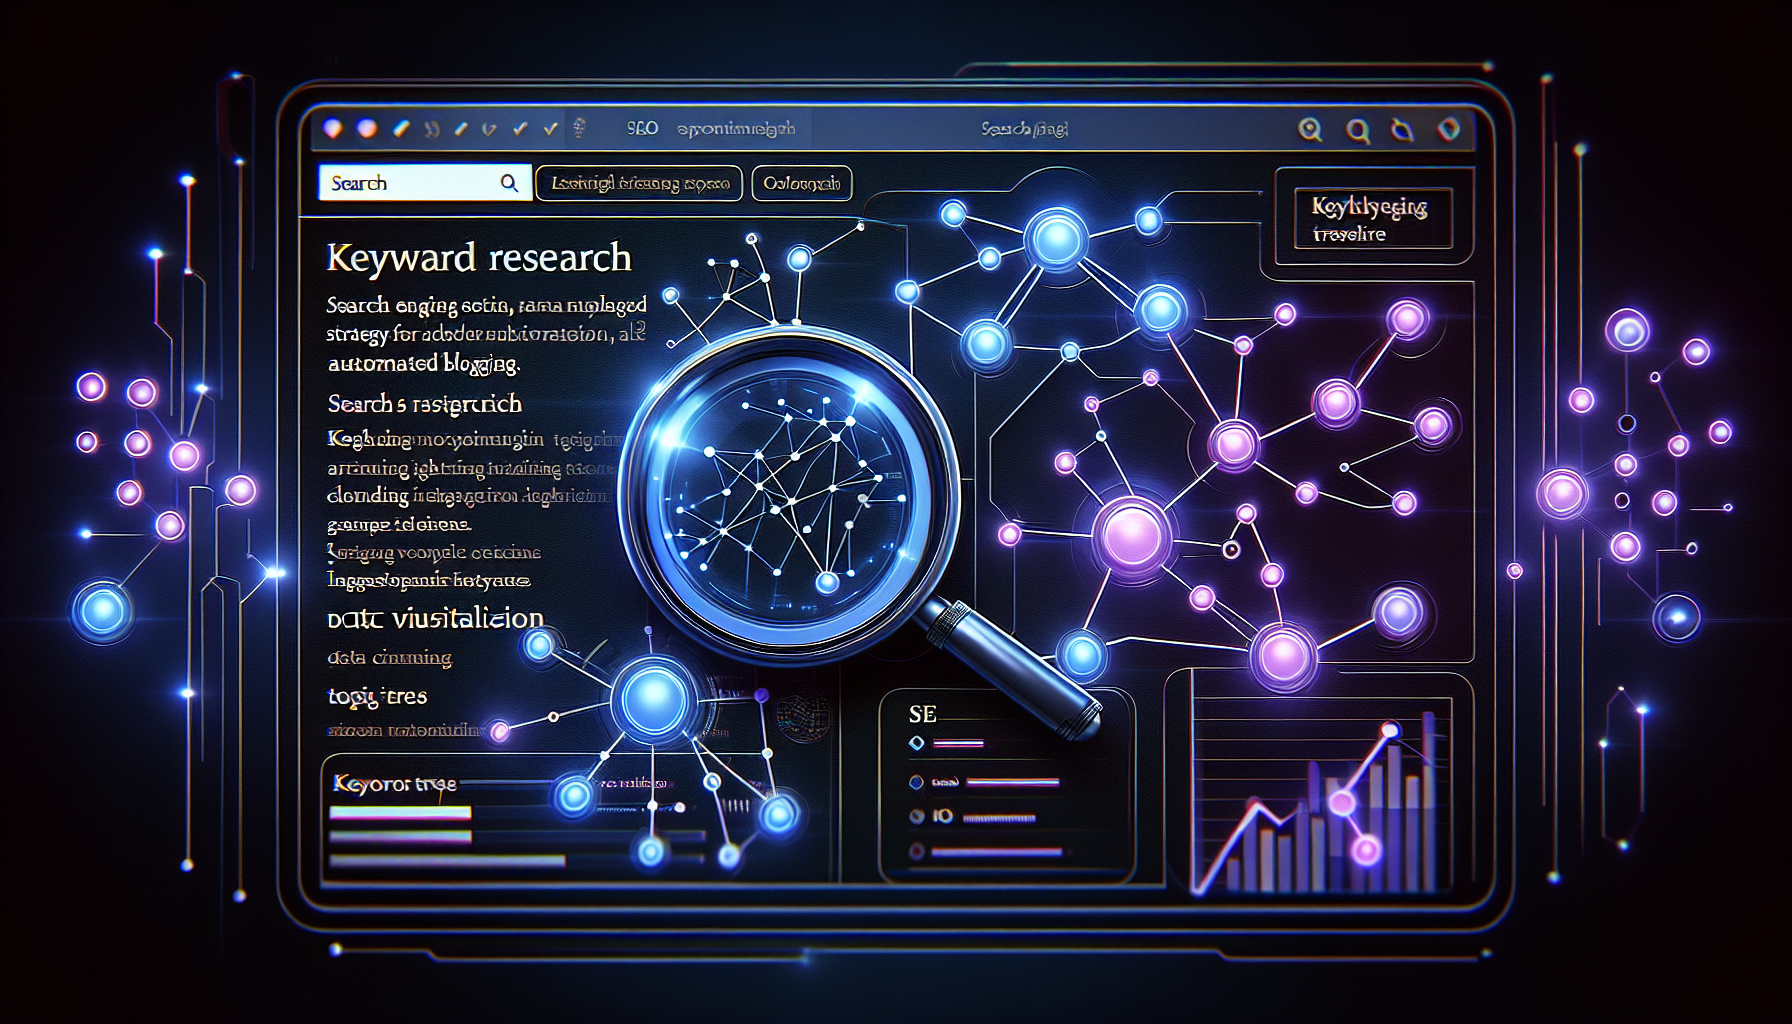
Keyword research on autopilot
Good content starts with good keywords. My pipeline maintains a keyword queue – a JSON file that lists potential topics ranked by priority. When the queue runs low, the agent refills it using a combination of Brave Search API and Google Autocomplete data.
The strategy focuses on long-tail keywords – phrases with four or more words that target specific questions. “OpenClaw” alone is too broad and competitive. But “how to connect OpenClaw to Google Calendar” or “best OpenClaw skills for small business” have real search volume with much lower competition.
Anti-cannibalization is built into the process. Before writing about any keyword, the agent pulls the full list of existing posts from the WordPress API and checks for overlap. If a proposed topic is too similar to something already published, it gets rejected and the next keyword in the queue gets picked instead.
Quality gates that actually work
Automation without quality control is just spam. That’s why the council review gates exist – they’re the difference between a content farm and a legitimate blog.
The first gate happens before any writing starts. The council evaluates the proposed keyword against five criteria: search viability, competition level, content type match, cannibalization risk, and alignment with business goals. If any of these fail, the keyword gets rejected and the pipeline picks a different one.
The second gate is tougher. The finished article goes through a full review where it gets graded on content quality, SEO optimization, voice authenticity, and humanizer compliance. The article needs an A grade to publish. Anything below that gets sent back for revisions.
Is this perfect? No. Some articles still need manual tweaks after publishing. But the failure rate is low enough that I’m comfortable letting it run overnight. Maybe one in ten articles needs a post-publish edit, and it’s usually something minor like a broken internal link or a formatting issue.
What this actually costs to run
Let’s talk money, because that’s what people really want to know. Running this pipeline costs me roughly $3-5 per article in API tokens. That breaks down to:
- Research phase (Gemini): ~$0.50
- Article writing (Claude): ~$1.50-2.00
- Council reviews (Claude): ~$0.75-1.00
- Image generation (DALL-E): ~$0.50-1.00
- Publishing and verification: negligible
At three articles per week, that’s roughly $45-60 per month. Compare that to hiring a freelance writer ($50-200 per article) or spending 3-4 hours writing each one yourself. The ROI becomes obvious fast.
The Mac Mini running OpenClaw 24/7 costs about $3/month in electricity. The hardware itself was a one-time purchase – I covered the full setup in my Mac Mini setup guide. So the total infrastructure cost for an automated content operation is under $100/month – well within reach for any blog or small business. (For a deeper look at all the costs, check the full cost breakdown.)
Mistakes I made (so you don’t have to)
Building this wasn’t smooth. Here are the biggest lessons from getting it wrong:
Starting with vague prompts. My first cron job prompt was something like “research and publish a blog post about OpenClaw.” The results were garbage – generic, unfocused, missing CTAs and images. Every detail matters in the task prompt. If you don’t specify it, the agent will improvise, and improvisation at 3 AM is rarely good.
Skipping the humanizer. Early articles had that unmistakable AI sheen – “in today’s rapidly evolving landscape” and “it’s not just X, it’s Y” everywhere. The humanizer pass is not optional. Readers can smell AI content, and Google is getting better at detecting it too.
Not checking for duplicate content. I accidentally published two articles targeting nearly the same keyword within a week. They competed against each other in search results and neither ranked well. The anti-cannibalization check solved this permanently.
Using the main session for autonomous work. This one’s technical but important. If you run a content pipeline through OpenClaw’s main session (the one you chat with), it can interfere with your conversations. Always use isolated sessions for autonomous work. Your cron job gets its own clean context, and your chat stays uncluttered.
Skip the Setup Headaches
Our team handles your entire OpenClaw setup – hardware, integrations, automations – so you can focus on running your business. Most clients are fully operational in 48 hours.
Can you build this yourself?
Honestly? Yes, but it takes time. If you’re comfortable with command-line tools, YAML configuration, and the general concept of API integrations, you could get a basic version running in a weekend. The full pipeline with all the quality gates, image generation, and error handling took me about two weeks of iteration.
The OpenClaw documentation covers cron jobs, skills installation, and session management in detail. The setup guide on this site will get you from zero to a running agent. The skills overview covers the individual tools you’ll need. And the AGENTS.md guide shows you how to configure your agent’s behavior and personality.
The hardest part isn’t any single step – it’s getting them all to work together reliably. That means handling edge cases (what if image generation fails?), building in fallbacks (use stock photos if DALL-E is down), and testing the whole chain repeatedly until it’s solid.
If that sounds like more than you want to tackle, that’s exactly why I offer setup services. I’ve already built this system and run it daily. I can configure the same pipeline for your site in a single session.